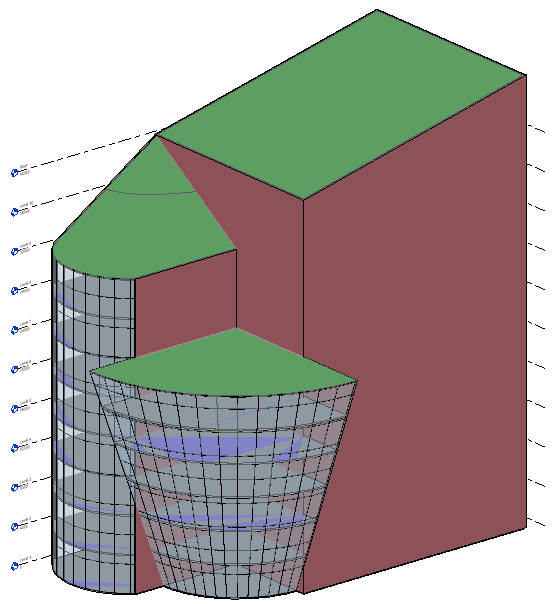
Massing in Revit, is the easiest and quickest way to create Conceptual 3D models of your building models. There are two methods to create a mass.
The first method is by creating a mass element within the project. This is known as In-Place Mass. These models are constrained to the current project. They can be further converted into building elements with the project.
The second method is by creating Conceptual Mass Family. These models are created as family files and can be used within any project to create the building model.
In this tutorial we are going to create an In-Place Mass.
Creating Reference for the Mass
Before creating a mass model, we have to create the required references like Levels, Grids & Reference Planes etc.
Creating Levels
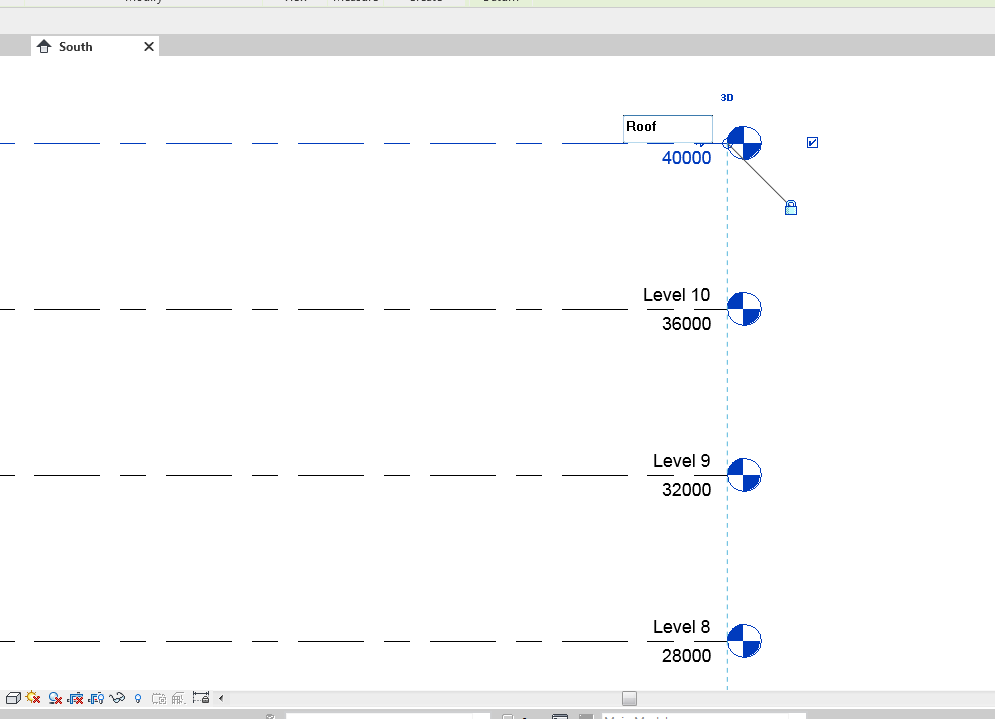
Open any elevation view from your Project Browser and create desired number of levels. Edit the level height and rename them with desired names.
Creating Column Grids
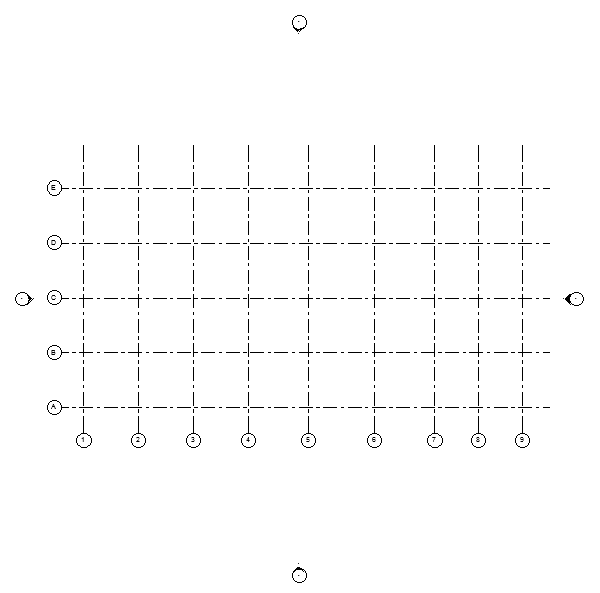
Open the floor plan view and create Grids which help in locating the Structural Columns at the later stage of design.
Creating and Editing the Mass
After creating the references, Open the floor plan view where you want to create the mass element.
From the Ribbon choose Massing & Site Tab and click on In-Place Mass.
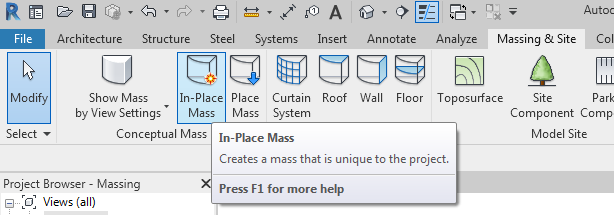
As this is the first mass that is being created, a dialog box will pop up stating that Revit will enable the Show Mass mode, just click “Close”.
Now, Revit prompts Name for the Mass that we are going to be created. For this tutorial, I’m specifying the name as “Building Mass”.
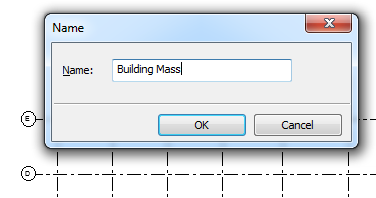
Once, the name is specified the Revit UI updates to that of Mass Modeling. From the Ribbon -> Create tab -> choose “Model” to start sketching the mass profile.
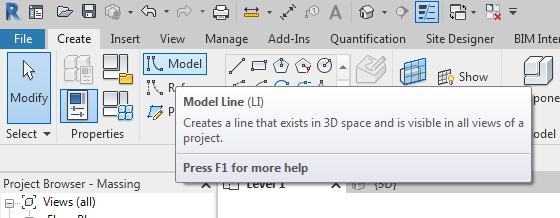
Using the sketch tools create the mass profile. Change to 3D view and select the created sketch -> on the Ribbon choose Create Form -> Solid Form to create a solid element.
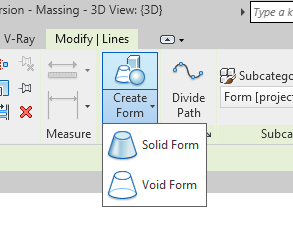
The height of the mass element can be controlled by using the Gizmo.
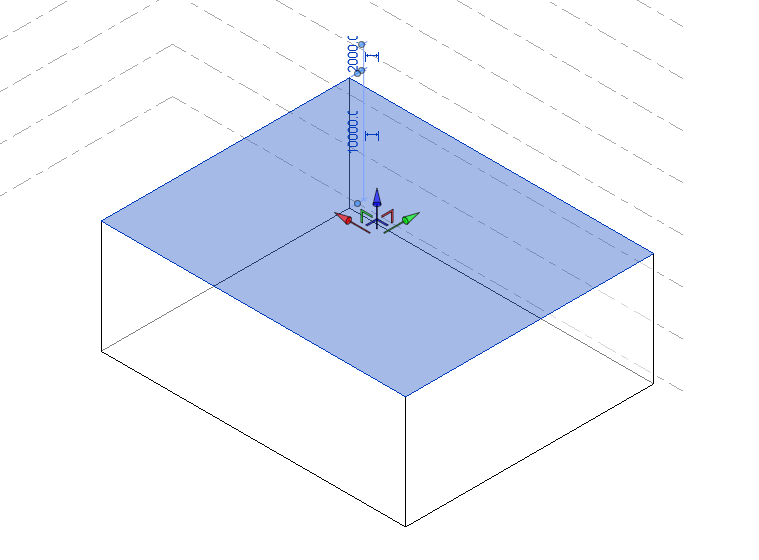
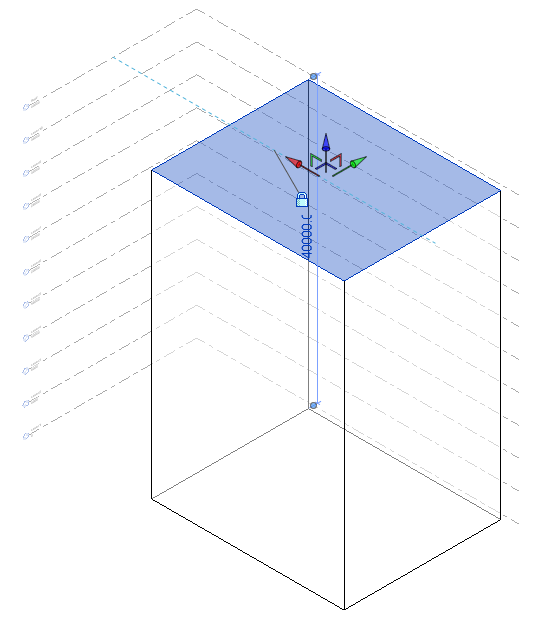
Create additional sketches and convert it into a solid form for various heights using the previous step
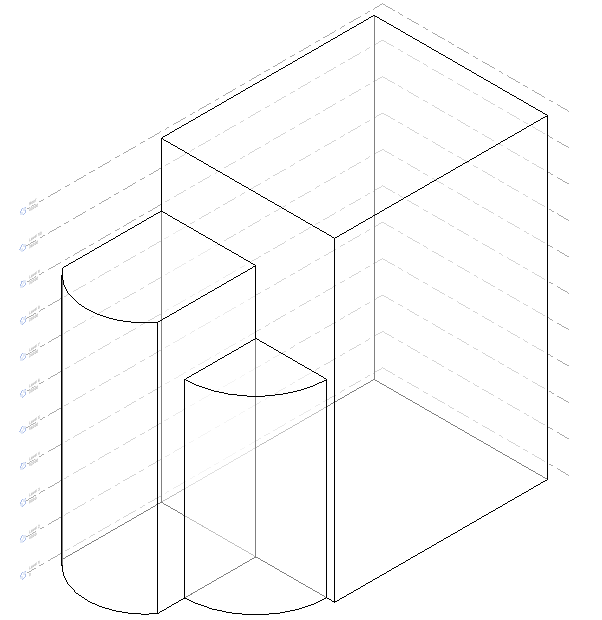
You can edit the mass by selecting the face, edge or the vertex and change it into a complex form. Additionally Voids can also be created to create openings in the Solid model
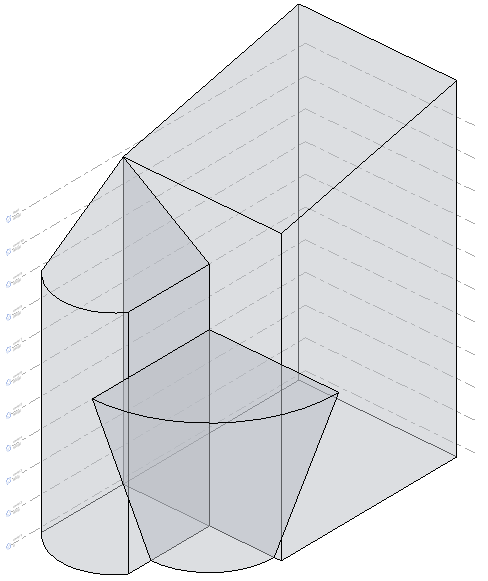
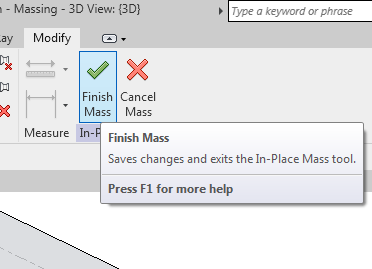
After the model is edited to your requirement. On the Ribbon tab click on “Finish Mass” to finish mass editing and revert back to Revit’s default work-space.
Conclusion
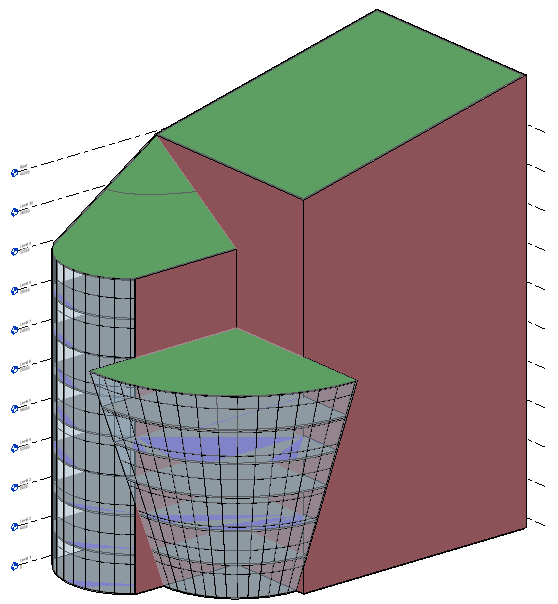
The created mass can be converted into Building Elements for further design phase
Know more
If you are interested in learning more about Massing in Revit, then you can enroll in Revit Architecture Course.
