
Legend is the detailed list of our building components and symbols and we can specify the detailed information about the components using legends.
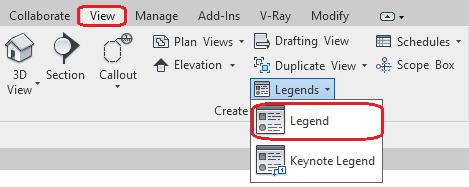
Creation of Legends
View tab -> Create Panel -> Legends
Note: Right click on the Legends in project browser and click “New Legend” option to create a New Legend.
1. After that New Legend dialogue box will open.
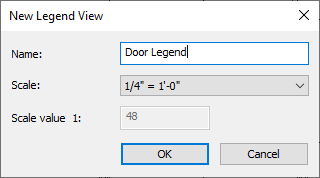
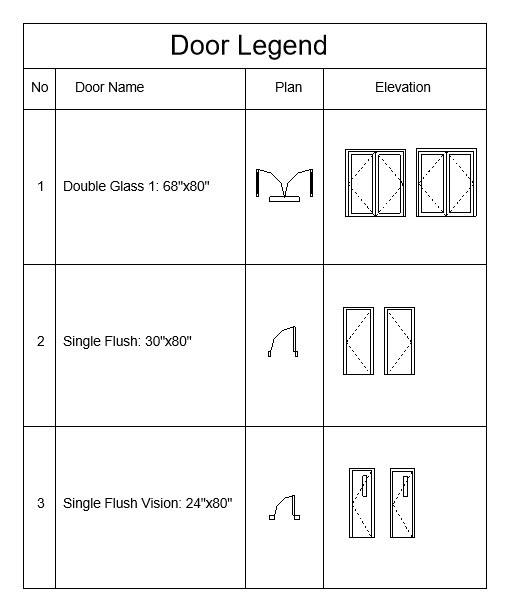
2. Specify the name for your Legend (Here I am going to create legend for Door. So that I specified the name as “Door Legend”).
3. Specify the Scale for the Legend view ( You can customize your scale).
4. Click “ok” to create Legend view.
5. The new legend view will be created in the name which we specified earlier.
We can add both “Components and Symbols” to the Legend. Before that we have to create table for the legend.
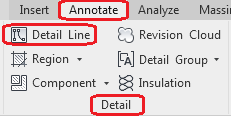
Draw a Table using Detail line
Annotate tab -> Detail panel -> Detail line.
We can draw table using “Modify/Place Detail Line” Draw tools.

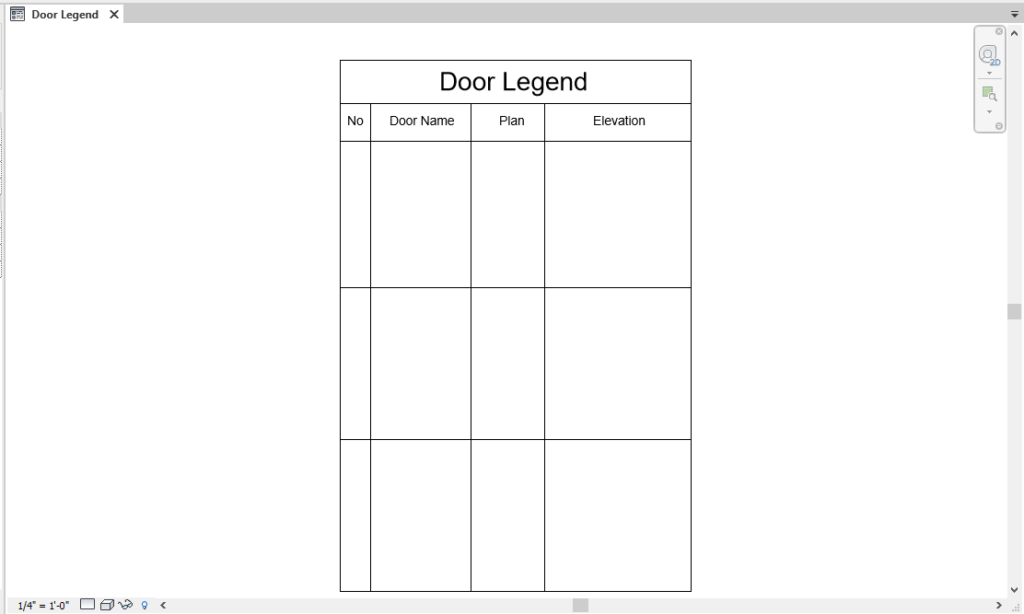
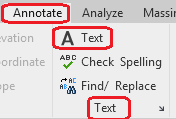
Adding Text
Annotate tab -> Text Panel -> Text.
After placing the text the legend table is ready to add symbols or Component.

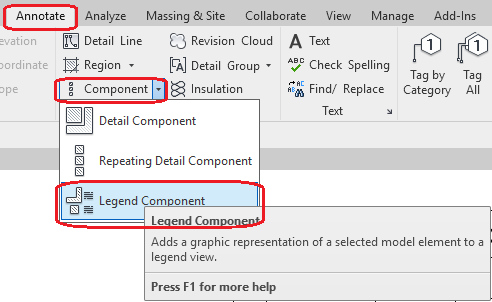
Adding Components to Legend
Annotate Tab -> Detail panel -> Component -> Legend Component
In options bar all the components which we were used in our project will be shown.
We can select one of them which we want in our legend.
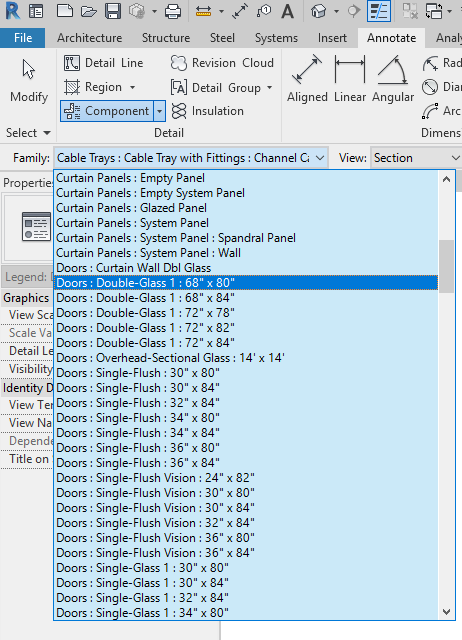
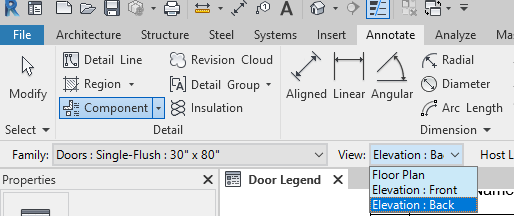
As well as we can choose the particular view which we want to display in our legend in options bar.
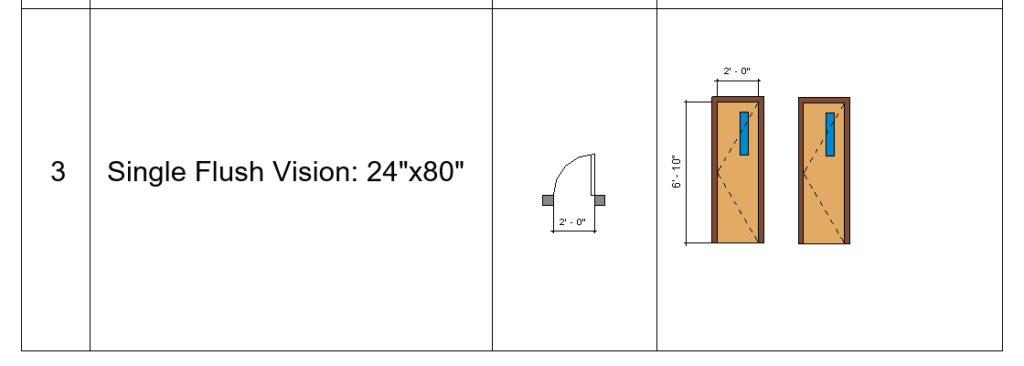
Here I choose Plan and Elevation front and Back for the doors.
Place the components in place which we require. Place the text and numbers as required.
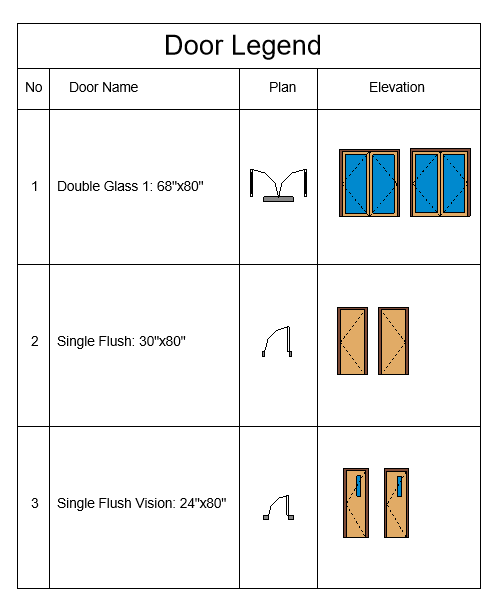
We can add the details like Dimensions, Filled region and Masking Region.
We can also add Symbols to the Legend.
If you are interested in learning about Component Legends and Symbol Legends in detail and Keynote Legends then you can enroll in Revit Course.